
Fireplace Installation Guidelines
This is an installation guideline only. Local codes may vary and should be checked.
A general knowledge of masonry skills is assumed.
NOTE: Ensure that everyone on the job has clean hands and/or gloves during installation.
The Hearth
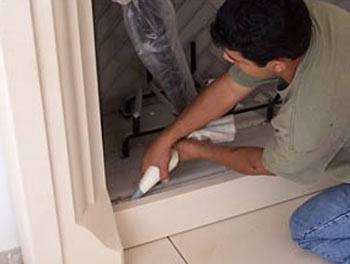
The first step in mantel installation is to attach the hearth to the subfloor. The hearth sections are set by applying a layer of thin-set mortar to the subfloor and to the bottom of the individual hearth pieces and then carefully positioning the pieces in the same manner that tile would be set. In some cases, a thin bed of brick mortar may be required for leveling.
If the subfloor is made of wood, OSB, or any other non-masonry material, we recommend that a layer of backerboard be placed (without mortar) on the subfloor and that the hearth be attached to the backerboard.
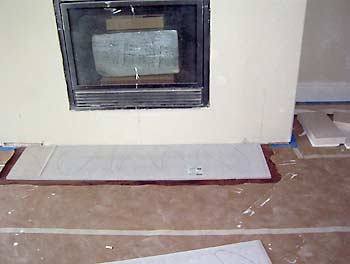
Backerboard with hearth
Raised Hearth
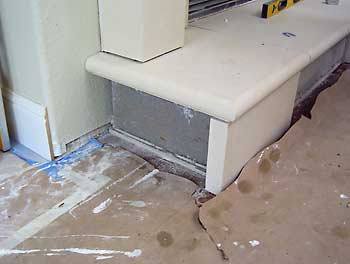
A substructure should be built from CMU, brick, or other masonry material. A wood substructure is recommended only if the subfloor is wood or OSB and weight is a consideration. Wood substructures should be covered with backer board. Next, set the hearth on the substructure as described above and clad the sides of the substructure using the same procedure.
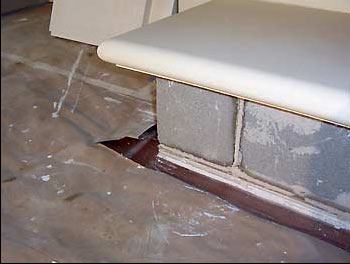
Example of a Raised Hearth
Cladding front and sides of substructure
Completed raised hearth before grouting
Mantel Legs
- Place ¼” spacers on the hearth where the legs will be positioned.

1/4″ Leg spacer placement
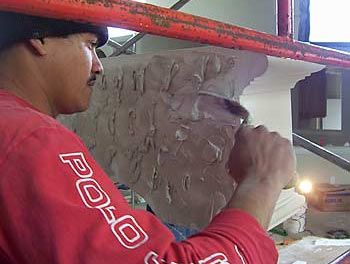
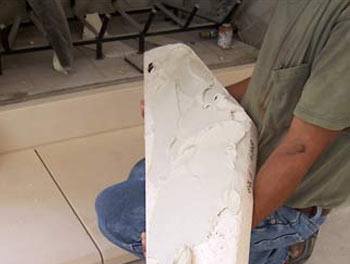
- Apply thinset mortar to the back of the legs and then set in position. Shim the legs as necessary to insure that they are plumb and level.
- CAUTION: During setting make sure that stone never touches stone, and that the only contact is stone to the spacers. Because the stone is heavy, stone to stone contact on edges or corners can cause chipping.
Thinset mortar applied to the back of the leg
Thinset applied to the wall before installing leg
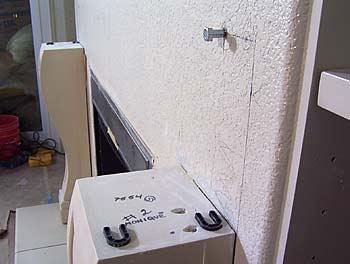
- The top of the leg is then mechanically tied to a stud using the supplied split- tailed masonry anchors.
- First, locate the stud.
- Measure and mark the area which will be ground into the leg to accept the anchor.
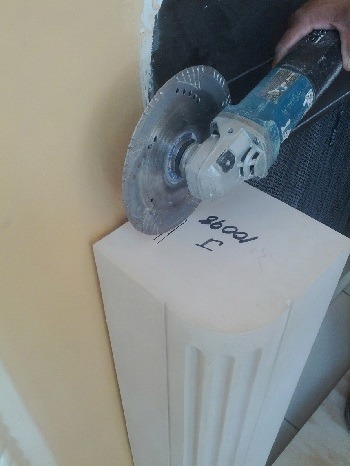
- Matching slots will also be ground into the underside of the header. (This is not shown.)

- Then install the anchor.
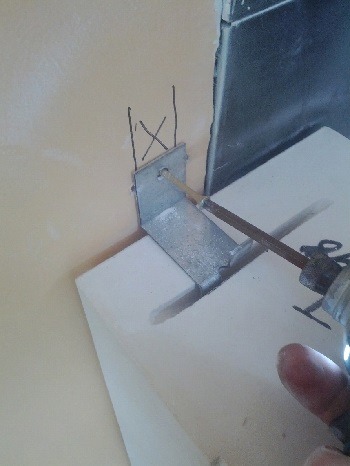
- Apply thin set to the slot before setting the header. This will ensure that the leg is mechanically tied to the wall.
- Another method of mechanically attaching the leg is to “toe” it in by drilling at about a 45 degree angle and using long screws. Care should be taken not to drill within 2 inches of the edge of the leg.
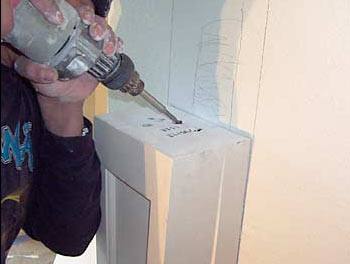
“Toe-ing” in the mantel leg
The Header
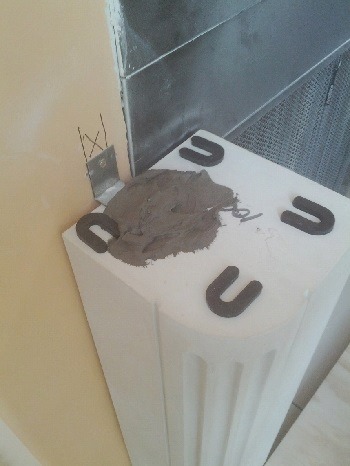
- Place ¼” spacers are placed on the top of the legs
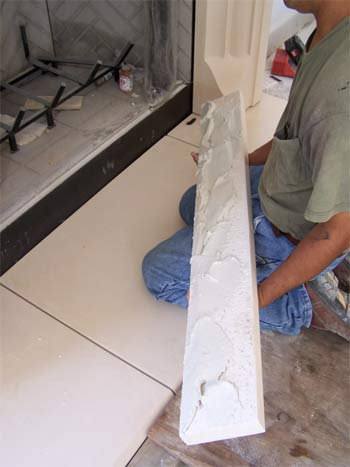
- Apply thinset mortar to the back of the header.
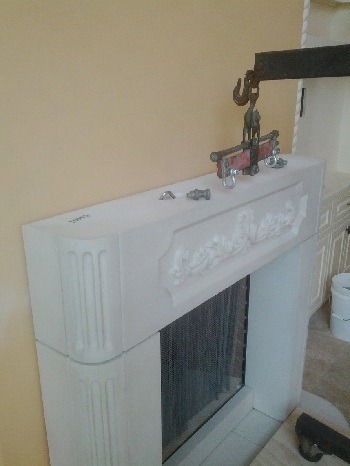
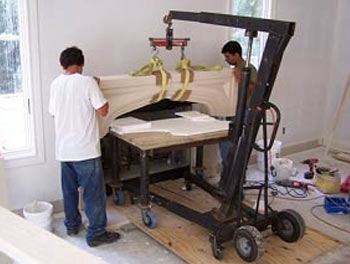
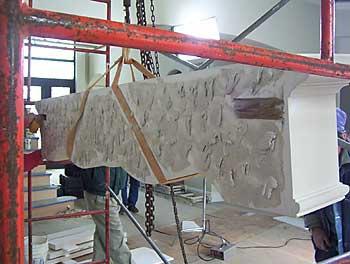
- Carefully lift and set the mantel header on the spacers. Due to the weight of some headers, mechanical lifting equipment may be needed.
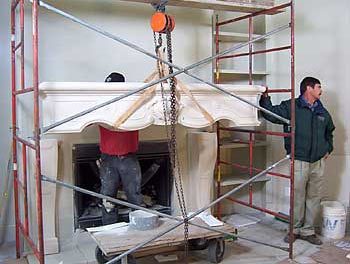
Lifting the mantel header
Caution: Because the use of crowbars or similar tools to position the header may chip the stone, this procedure should be avoided.
- Shim as necessary to insure that the header is plumb and level.
- Locate the studs behind the header and mechanically tie it to the wall.
Alternate Method For Header Installation
Some of our mantels have a one-piece header and shelf. For one of these mantels, a different method is used to mechanically tie the header to the wall:
- First, locate two or more studs behind the header.
- Drill lag screws into the studs, leaving approximately 1½” exposed.
- Place 1/4″ inch spacers on top of the mantel legs
Spacers and lag screws
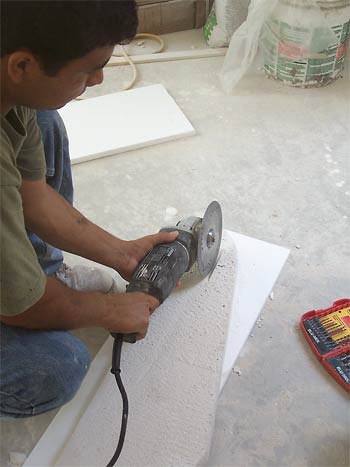
- Locate the correct position on the back of the header and drill oversized holes or cut slots with a saw and masonry blade to receive the lag screws.
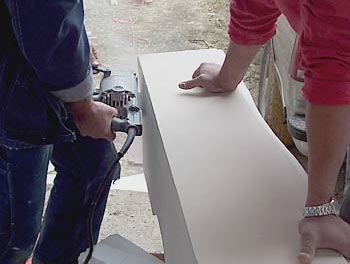
Cutting slots to match the lag screw locations
- Fill the holes with thinset mortar or epoxy, apply thinset mortar to the wall and back of the header, and carefully set the header on ¼” spacers placed on top of the legs. See cautions listed above when lifting the header.
Setting the mantel header
The Shelf
Place ¼” spacers on the top of the header and use thin-set mortar to attach the shelf to the top of the header and the wall. For most styles, it is not necessary to mechanically tie the shelf to the wall.
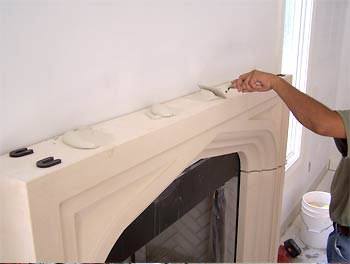
Applying thinset to the top of the header prior to placing the shelf
Filler Panels
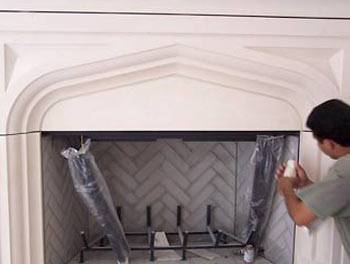
Filler panels, if any, are generally installed using only thin-set mortar. Install the side filler panels first, using ¼” spacers on all sides meeting other stone. With prefabricated fireboxes, the black flashing on all sides of the firebox opening can normally be covered with stone, but take care not to cover louvers, glass, or other access points. Temporary supports may be needed to keep the top filler panel in place while the thin-set mortar cures if the style being installed does not have side filler panels.
Thinset does not hold well when applied to metal. If the filler panels are to be applied to metal only, use a construction adhesive (such as “Liquid Nails”) instead of thinset mortar.
Installing a bottom filler panel.
(Note that the spacers have been cut in half.)
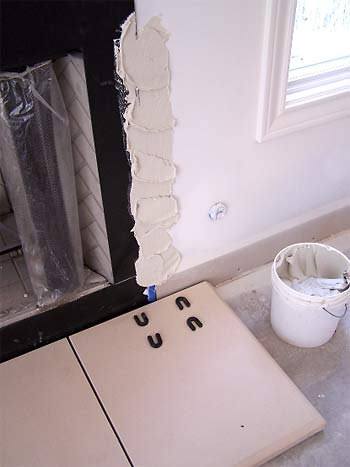
Some installations will not have side filler panels. Temporary supports may be used to keep the top filler panel in place while the thinset mortar cures. Another method of installing a top filler panel without side panel support is shown below:
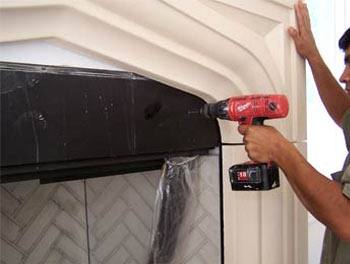
First, screws are driven into studs.
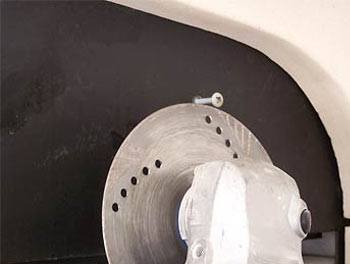
Next, the heads are ground off.
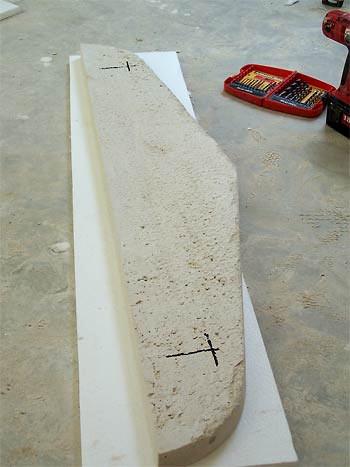
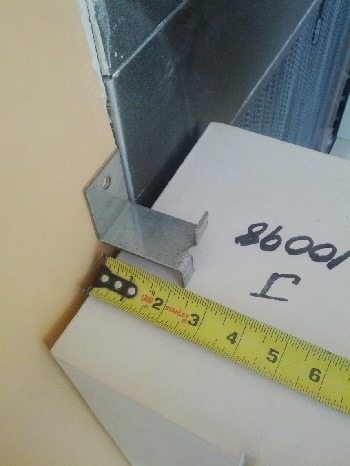
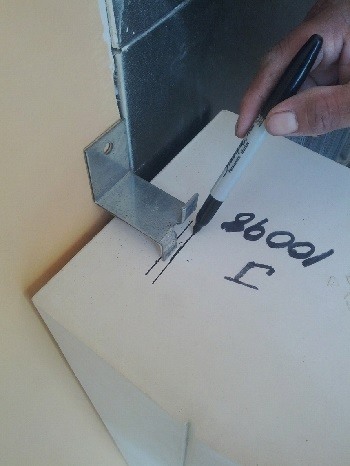
Mark the location to grind/drill.
Slots are ground or drilled where marked.
Thinset is applied (Also, note the spacers.)
The unsupported upper filler panel has been
installed and is being grouted. It may be necessary to install a temporary support until the thinset has cured.
Caution:
Be careful not to attach any stone to metal which will heat up when a fire is started. Thermal expansion of the metal may break the joint and possibly the stone. Be careful when drilling through any portion of a prefabricated firebox. Although the metal on some models may be penetrated, this could cause hazardous conditions on other models.
Grouting
Grout and point all stone to stone joints. Sponge all exposed surfaces with clean water as the grouting operation proceeds to ensure that mortar does not dry on the mantel face.
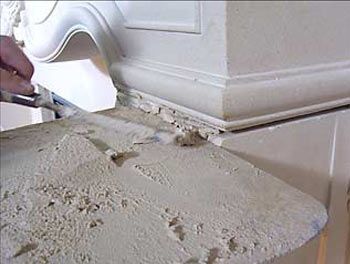
Applying grout to the mantel joints
Applying grout behind the lower filler panel
Caulking
Sanded caulk is recommended for stone to drywall and stone to wood joints. Sanded caulk has the appearance of grout but its flexibility prevents cracking that can occur with wall movement.
Because excessive caulk can not be removed with water, we recommend protecting the mantel with painters tape prior to caulking.
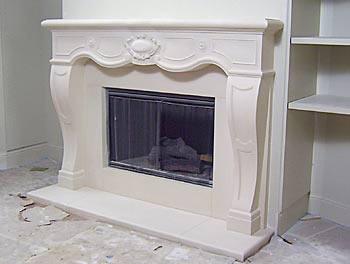
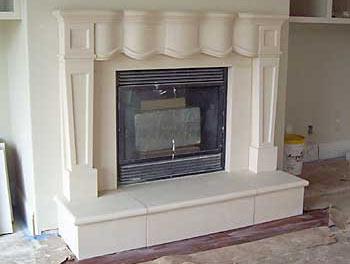
Finished mantel installation
PATCHING INSTRUCTIONS
If patching is required call us at (281)931-1000 for Patch Kits.
NOTE: Patching should always be done BEFORE grouting and caulking.
Cast Limestone Patching Information
Patch Kit Contents:
- Limesand (A)
- White Portland Cement (B)
- White Latex Liquid Bonding Agent
- Wooden blocks
- 180 grit sandpaper
Additional items you may need:
- Spray bottle of water
- Small bowl to mix in
- Toothbrush (distressed mantels only)
- Measuring spoons
Instructions:
Setup: Ensure that everyone working on the job has clean hands and/or gloves during patching.
Mixing: Mix Limesand (A) and White Portland (B) at a 2:1 ratio. Add the liquid latex and water to the mix at a 3:1 ratio and mix thoroughly to a workable paste, similar in consistency to peanut butter. Do not mix more than you need to repair the damaged area, or more than can be applied in a 30-minute time frame.
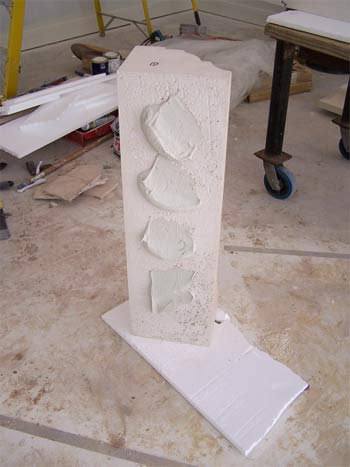
Applying: Wet the area to be patched lightly with water. The patching mixture should be approximately the color of the wet stone. Apply a small amount of latex to the damaged area, then apply the mixture to the area with the putty knife. Use the putty knife or the flat side of the block to rub the mix into the damaged area. Continue rubbing or lightly troweling until the patch is shaped to the proper contour or square edge of the mantel. Clean and rinse the area around the patch. Avoid wetting the patched area.
Finishing: (If necessary.) Let the patched area dry approximately 24 hours. Then lightly dry-sand the patch. Following a light dry-sand, the patch should be dampened for a light wet-sanding. (Do not use blue or red backed sandpaper as they may bleed and stain the mantel.) Be sure to keep the area wet while sanding. Dry off excess water with a soft rag before the water dries. This prevents run marks. This process can be repeated until the desired finish is obtained. 24 hours after the initial sanding, a final dry-sanding may be necessary to match the finish and color on the mantel.
Finishing Distressed Mantels: Let the patched area begin to set (approximately 2 hours). Work the patched area lightly with a toothbrush until the surface has a similar texture to the area around it. Allow the patch to completely dry (another 10 hours) and then brush again.
Note: If the piece that broke off is available, epoxy it in place and simply fill any cracks or voids with patching compound.
Caution: The patching compound can cause skin irritation. Rubber gloves should be worn when working with it.